Did you know that birdwatching photography is the fastest-growing segment of wildlife photography? With millions of passionate bird enthusiasts around the world, it’s no wonder that capturing the beauty of these avian wonders has become a popular pursuit. Whether you’re a beginner or a seasoned photographer, these bird photography tips will help you improve your skills and take your birdwatching photography to the next level.
From knowing your subjects and mastering your camera to freezing the action and managing memory, this article will provide you with valuable insights and techniques to enhance your bird photography experience. Get ready to capture stunning shots of your feathered friends in their natural habitats. Let’s dive in!
Know Your Subjects: Get to Know the Birds You Are Photographing
Before heading out to photograph birds, it’s important to familiarize yourself with the specific bird species you want to capture. Understanding the behavior and habits of the birds will greatly enhance your bird photography skills and increase your chances of capturing the perfect shot.
Begin by researching the bird species you intend to photograph. Learn about their feeding patterns, mating rituals, and preferred habitats. This knowledge will help you anticipate their actions and position yourself in the best possible location to capture compelling images.
In addition, take the time to study the common bird photography techniques that will enable you to showcase these beautiful creatures. Knowing which camera settings to use and how to adjust them based on the lighting conditions and bird behavior is essential.
Ensure you familiarize yourself with your birding camera settings to make quick adjustments as needed. Experiment with different focus modes, such as continuous autofocus, to track the moving birds accurately. Become proficient in adjusting the aperture and shutter speed to control depth of field and freeze the action, respectively.
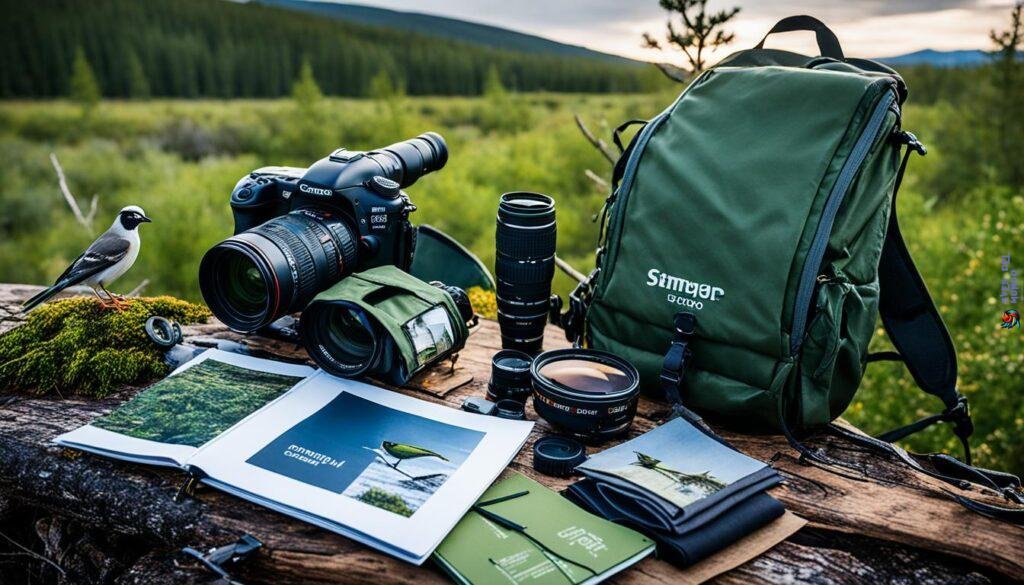
To capture stunning shots, invest in the right bird photography gear. Consider using a telephoto lens with a long focal length to bring distant birds closer while maintaining image quality. Tripods and monopods provide stability and reduce camera shake, leading to sharper images.
«Knowing your subjects is the key to capturing their true essence. Spend time observing and studying birds in their natural habitat to learn their patterns and behaviors. This knowledge will allow you to anticipate their movements and capture extraordinary moments through your lens.» – Jane Adams, Wildlife Photographer
Remember, bird photography is a blend of patience, technical skills, and a deep appreciation for nature’s wonders. By getting to know your subjects and being prepared with the right birding camera settings, bird photography techniques, and gear, you’ll be ready to capture incredible images of these fascinating creatures.
Must-Have Bird Photography Gear
| Item | Description |
|---|---|
| Telephoto Lens | Affords a long focal length for capturing distant birds without compromising image quality. |
| Tripod or Monopod | Provides stability and minimizes camera shake, resulting in sharper images. |
| Camera Bag | Protects and organizes your camera equipment during outdoor expeditions. |
| Memory Cards | Large-capacity cards to ensure ample storage space for capturing multiple bird photos. |
| Extra Batteries | Prevents disappointment by having backup power to last the entire birding excursion. |
Master Your Camera: Learn to Use Your Bird Photography Equipment
To capture great bird photos, it’s essential to become familiar with your DSLR or mirrorless camera and be able to quickly adjust settings like focus and exposure. Practice using your camera at home until changing settings becomes second nature, so you don’t miss any shots in the field.
Here are some tips to help you master your camera and optimize your bird photography equipment:
- Know your camera settings: Spend time reading your camera’s manual and understanding its features. Familiarize yourself with important settings like aperture, shutter speed, ISO, and metering modes. Knowing how to adjust these settings quickly and accurately will allow you to capture sharp and properly exposed images of birds.
- Experiment with exposure modes: Take advantage of the different exposure modes your camera offers, such as aperture priority, shutter priority, and manual mode. Each mode provides a different level of control over exposure settings, so it’s important to understand their advantages and limitations when photographing birds in varying lighting conditions.
- Practice using autofocus: Birds can be fast-moving subjects, so mastering autofocus is crucial for capturing sharp images. Experiment with different autofocus modes, such as single-point AF and continuous AF, to find the one that works best for you. Additionally, learn how to adjust the focus point quickly so you can track birds in flight or capture them in sharp detail.
- Utilize custom shooting modes: Some cameras offer custom shooting modes that allow you to save and easily recall a specific set of camera settings. Take advantage of this feature by creating a customized mode specifically for bird photography. This way, you can quickly switch to the optimal settings for photographing birds without having to adjust each setting manually.
- Invest in the right gear: Along with understanding your camera, having the right bird photography gear is essential. Consider investing in a telephoto lens with a long focal length, a sturdy tripod or monopod for stability, and accessories like a remote shutter release or a birding hide to enhance your bird photography experience.
Remember, practice makes perfect. Spend time honing your skills with your camera and experimenting with different settings and techniques. The more you familiarize yourself with your equipment, the better prepared you’ll be to capture stunning bird photos in the field.
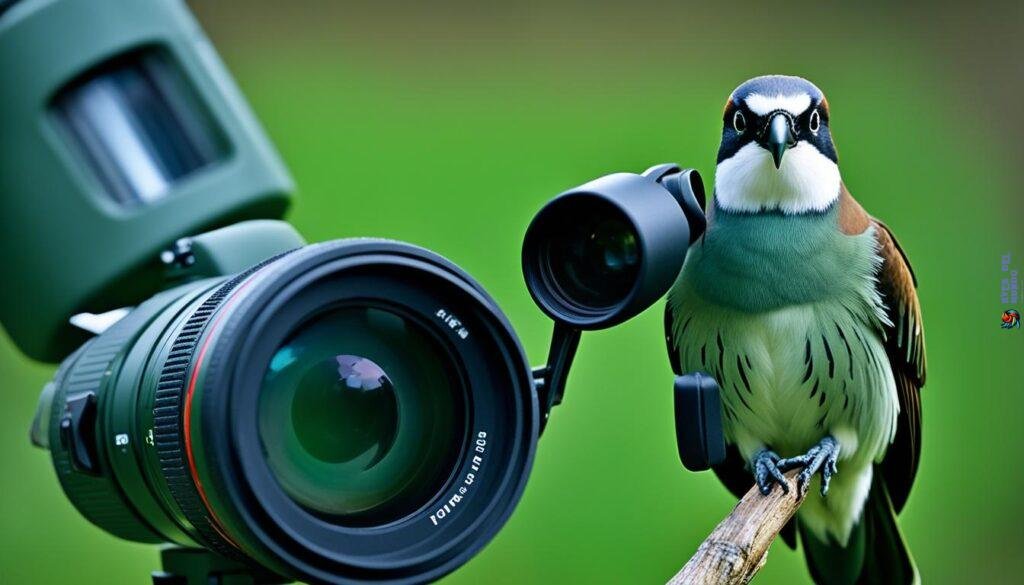
Recommended Bird Photography Equipment
| Equipment | Recommended Brands |
|---|---|
| Telephoto Lens | Nikon AF-S 200-500mm f/5.6E VR |
| Tripod/Monopod | Manfrotto MT055CXPRO3 Carbon Fiber Tripod |
| Remote Shutter Release | Canon RC-6 Wireless Remote Control |
| Birding Hide | Kirk Photo Photo Blind XL |
Freeze the Action: Use High Speed Shooting Mode for Bird Photography
Birds are fast-moving subjects, so capturing their actions requires using high-speed shooting mode on your camera. By adjusting your birding camera settings to a high shutter speed, you can freeze the fast-paced motion of birds and capture sharp, detailed images.
To effectively freeze the action, it’s essential to anticipate the desired moment and start shooting before the action happens. Whether it’s a bird taking flight or diving for prey, being prepared and proactive will increase your chances of capturing the perfect shot.
Don’t stop shooting until the action is over. Birds move quickly, and their behavior can change in an instant. Continuously capturing images throughout the action ensures that you have a variety of shots to choose from later.
Remember, high-speed shooting mode is especially useful when photographing birds in flight or engaged in swift movements. This setting allows you to capture those split-second moments that showcase their agility and grace.
«High-speed shooting mode enables you to freeze the action and capture the precise moment that defines the beauty and energy of birds in their natural habitat.» – Professional Bird Photographer
By mastering the use of high-speed shooting mode, you can elevate your bird photography techniques and create stunning images of birds in motion.
Manage Memory: Use Large Memory Cards and a Consistent Workflow
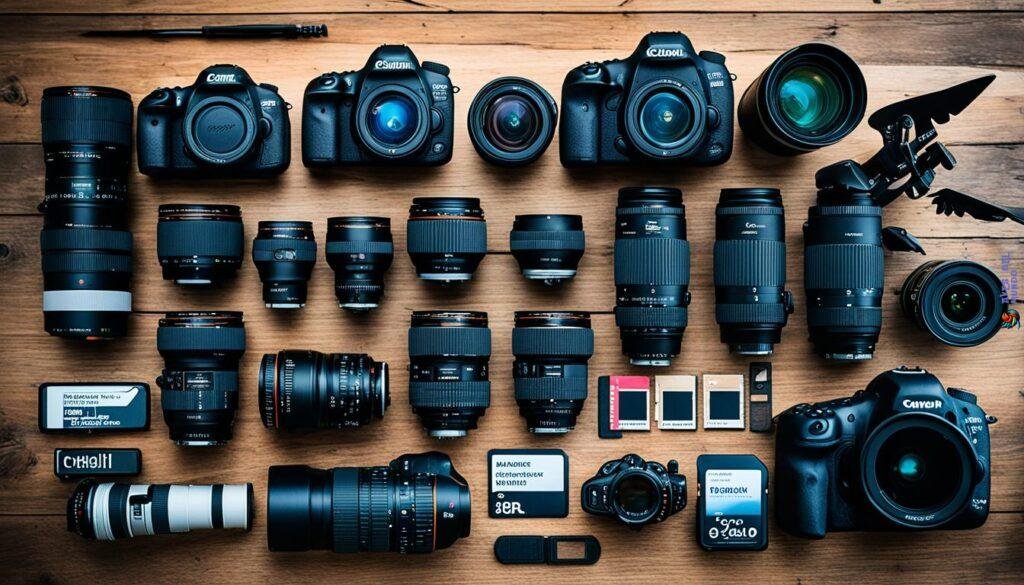
When you’re out in the field, capturing mesmerizing shots of birds in their natural habitats, the last thing you want is to run out of storage space on your memory card. That’s why it’s crucial to equip yourself with large memory cards that can handle the volume of images you’ll be capturing.
Having multiple high-capacity memory cards ensures that you can keep shooting without interruption and never miss a perfect moment. Large memory cards are especially important if you’re shooting in burst mode, where you can capture multiple frames in rapid succession to capture the swift movements of birds.
To manage your memory cards efficiently, it’s essential to establish a consistent workflow. Formatting your cards at the start of each day ensures that they are clean and ready to store new images. This practice also reduces the risk of potential data loss due to corrupted files. Remember, always back up your images regularly so that you have a safeguard in case anything happens to your memory cards.
Avoid deleting photos in the field unless absolutely necessary. Deleting images on the go can increase the risk of accidentally removing valuable shots and potentially compromise your workflow. Instead, wait until you have access to a computer before reviewing and deleting unwanted images. This way, you can carefully select the best shots and maintain a systematic approach to managing your memory cards.
| Advantages of Using Large Memory Cards and a Consistent Workflow |
|---|
| 1. Avoid running out of storage space in the field |
| 2. Capture more images without interruption |
| 3. Reduce the risk of data loss and corruption |
| 4. Maintain a systematic and organized approach to managing memory cards |
Tips for managing memory cards and workflow:
- Invest in high-capacity memory cards to ensure ample storage space
- Carry multiple memory cards to avoid running out of storage
- Format your memory cards daily to keep them clean and ready for new images
- Regularly back up your images to prevent data loss
- Avoid deleting photos in the field; wait until you have access to a computer
By using large memory cards and implementing a consistent workflow, you can focus on capturing breathtaking shots of birds without worrying about storage limitations or the risk of losing precious images. Let your creativity soar while your memory cards keep up with the incredible beauty of the avian world.
Focus on Focus: Choose the Right Focus Mode for Bird Photography
Birds are often in constant motion, making it crucial to use the right focus mode for bird photography. Experimenting with different tracking focus modes on your camera is key to consistently capture sharp and focused images. Additionally, customizing focus mode settings and using back-button focus can greatly improve your focusing accuracy.
«To capture stunning bird photos, it’s essential to choose the right focus mode for your camera. Experimenting with different tracking focus modes will help you consistently capture sharp and focused images of these fast-moving subjects.»
When photographing birds, it’s important to understand that they can quickly change direction or fly away, making it necessary to adjust your focus mode accordingly. Some cameras offer options like «AI Servo» or «AF-C» (Continuous Focus) that can help track moving subjects effectively. By using these modes, your camera will continuously adjust the focus as the bird moves, ensuring that your subject remains sharp.
Customizing focus mode settings can also enhance your focusing accuracy. Adjusting parameters like focus sensitivity or tracking sensitivity based on the bird’s behavior can improve the camera’s ability to lock onto the subject. This customization allows you to adapt your focus settings to specific bird photography scenarios and maximize your chances of capturing stunning shots.
Another technique that can benefit bird photographers is using back-button focus. By assigning autofocus activation to a separate button on the back of the camera, you can have more control over when and how the camera focuses. This allows you to use a strategy called «focus and recompose,» where you focus on your subject and then recompose the composition without losing focus. Back-button focus gives you the flexibility to quickly adjust your composition while maintaining precise focus on the bird.
«Choosing the right focus mode is essential to capture detailed and crisp bird photos. By experimenting with different focus modes, customizing focus settings, and using back-button focus, you can elevate your bird photography skills and consistently achieve stunning results.»
Exposure Matters: Expose for the Highlights in Bird Photography
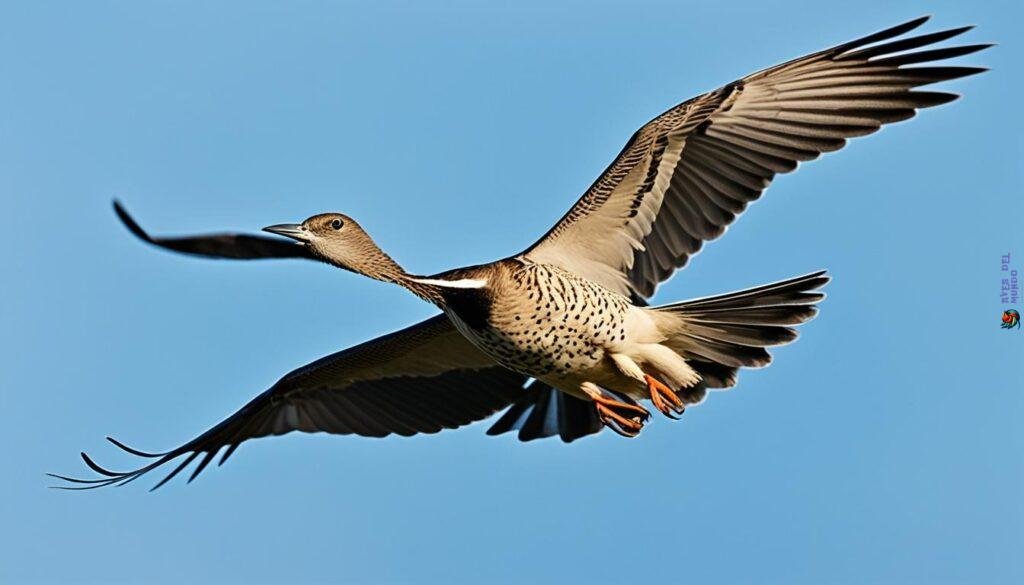
Proper exposure is crucial in bird photography, especially when it comes to preserving the intricate details in the highlights of a bird’s feathers. By exposing for the highlights, you can ensure that your images capture the true beauty of these avian creatures without blowing out important details.
When setting up your camera for bird photography, it’s essential to understand the concept of exposure. You have two primary options for controlling exposure: manual camera exposure or using auto ISO settings.
Manual camera exposure gives you complete control over the settings, allowing you to adjust the aperture, shutter speed, and ISO to achieve the desired exposure. By metering for the highlights and ensuring they are well exposed, you can bring out the intricate patterns and textures in a bird’s plumage.
Auto ISO settings can be a useful tool when you’re shooting in changing lighting conditions or in situations where you need to react quickly to capture the perfect shot. The camera will automatically adjust the ISO to ensure proper exposure, giving you one less thing to worry about while photographing birds in the wild.
Expert Tip: To expose for the highlights, try using the spot metering mode on your camera. This metering mode allows you to choose a specific area to meter from, helping you prioritize the exposure for the brightest parts of the bird’s feathers.
Remember, bird photography lighting can be challenging, with birds often found in areas with mixed lighting, such as dappled sunlight through the branches of a tree. In these situations, it’s crucial to pay attention to the exposure and make adjustments accordingly.
Table: Bird Photography Exposure Tips
| Exposure Tip | Description |
|---|---|
| Expose for the highlights | Adjust your camera settings to prioritize the exposure for the brightest parts of the bird’s feathers. |
| Experiment with manual exposure | Take control of your camera settings to achieve the desired exposure. |
| Utilize auto ISO settings | Let the camera automatically adjust the ISO to ensure proper exposure in changing lighting conditions. |
| Consider spot metering mode | Use spot metering to meter from a specific area and prioritize the exposure for the highlights. |
By mastering exposure in bird photography, you can capture stunning images that showcase the intricate details and beauty of these magnificent creatures.
Fast Shutter Speeds: Freeze the Motion of Birds in Action
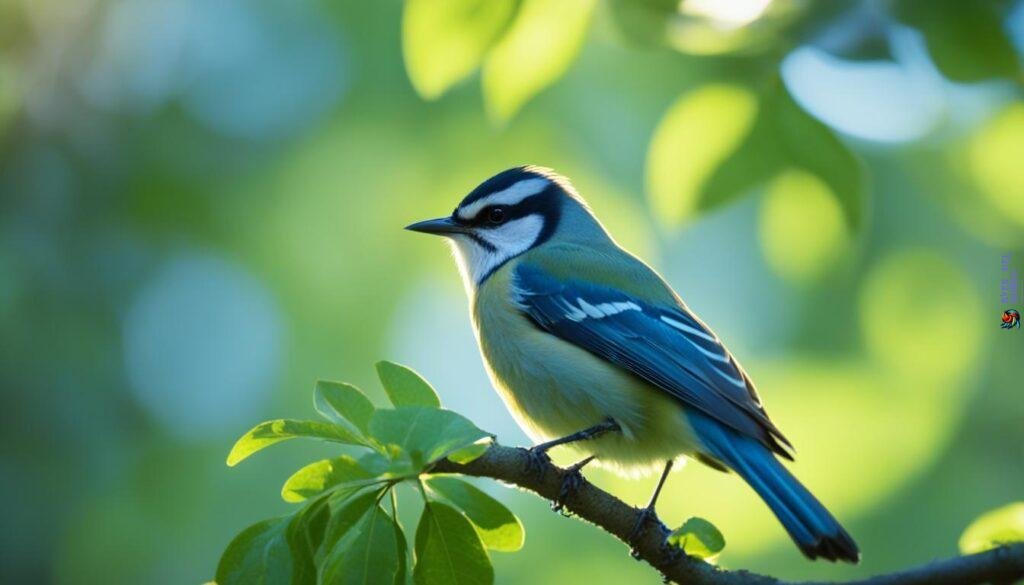
Birds are constantly in motion, making it essential to use fast shutter speeds to capture their movement and ensure sharp, detailed images. The right balance between freezing action and maintaining image quality can be achieved by experimenting with different shutter speeds. To get started, use a minimum shutter speed of 1/1000s and adjust accordingly based on the speed and behavior of the birds.
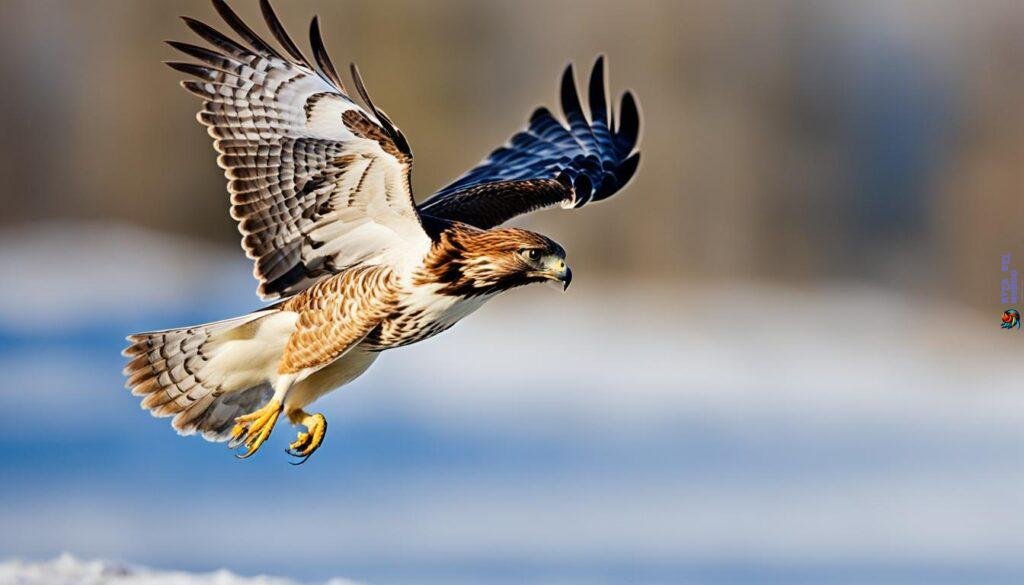
When photographing birds in action, a fast shutter speed helps to freeze their wings or mid-flight maneuvers, resulting in dynamic and captivating images. Faster shutter speeds also minimize motion blur caused by their rapid movements, yielding clear and sharp shots.
Using a fast shutter speed can be particularly beneficial in situations where birds are engaging in activities like hunting, feeding, or taking flight. By freezing their motion, you can capture the precise moment that tells a story in your photograph.
To select the appropriate shutter speed, take into account the speed at which the bird is moving and the amount of light available. As a general guideline, a minimum shutter speed of 1/1000s is suitable for most birds in action. However, if the bird is exceptionally fast or the lighting conditions are dim, you may need to increase the shutter speed further.
Here are some general tips for selecting the right shutter speed:
- Consider the speed and behavior of the birds you are photographing. Faster-moving birds may require even higher shutter speeds, while slower birds may allow for slightly slower shutter speeds.
- If you encounter low-light situations, you may need to boost your camera’s ISO setting to maintain a fast shutter speed. However, be mindful of the potential noise that higher ISO values can introduce into your images.
- Keep in mind that faster shutter speeds typically require wider apertures or higher ISO settings to compensate for reduced light entering the camera.
- Experiment with different shutter speeds to find the sweet spot that freezes the bird’s action while maintaining a well-exposed image.
Quote: «A fast shutter speed is crucial when photographing birds in action. It allows you to capture sharp, freeze-frame moments, showcasing the beauty and agility of these feathered creatures.» – Wildlife Photographer
| Shutter Speed | Suggested Use |
|---|---|
| 1/1000s | General starting point for capturing birds in action |
| 1/2000s | Great for freezing fast wing flaps or mid-flight acrobatics |
| 1/4000s or higher | Ideal for capturing birds in rapid motion, such as diving or hunting |
Remember, the right shutter speed may vary depending on the specific bird species, lighting conditions, and the creative vision you have for your photograph. Experiment, be patient, and keep practicing to master the art of freezing the motion of birds in action.
Perfect Timing: Take Advantage of Golden Hour in Bird Photography
The golden hour, the period shortly after sunrise and before sunset, offers the best lighting conditions for bird photography. During this time, the sun is low in the sky, casting a soft, warm light that enhances the colors and textures of the birds. The golden hour creates a magical atmosphere, transforming your bird photos into stunning works of art.
When photographing birds during the golden hour, you’ll notice beautiful catchlights in their eyes. These catchlights add depth and life to your images, drawing the viewer’s attention to the bird’s gaze. To capture these captivating moments, position yourself so that the light is hitting the bird at an angle, illuminating its features and creating those mesmerizing catchlights.
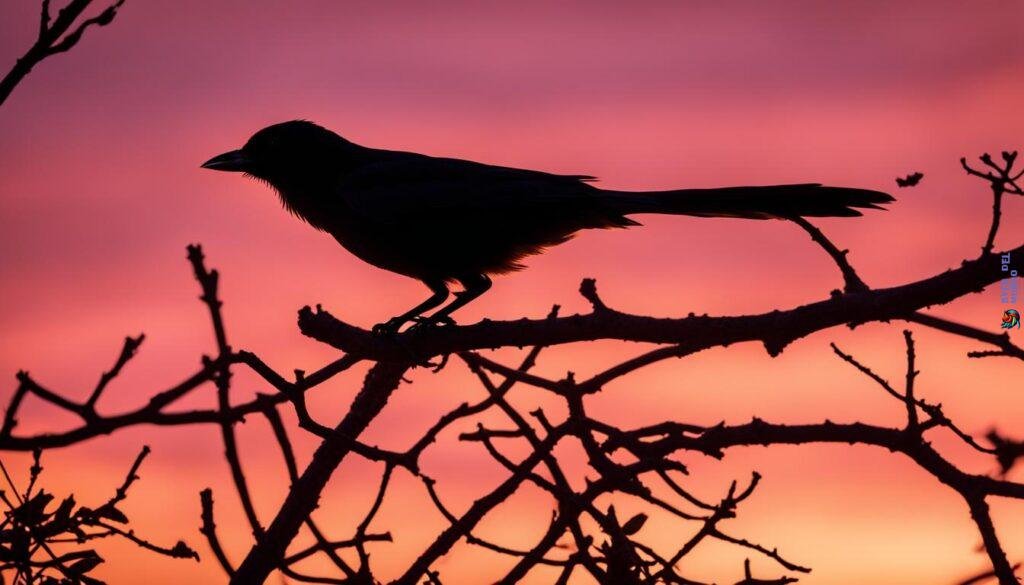
To make the most of the golden hour, make sure you have the right bird photography gear. A DSLR or mirrorless camera with a good low-light performance and a telephoto lens will allow you to capture the intricate details of the birds in the soft, golden light. Tripods or monopods can also be useful for ensuring stability, especially when shooting with longer focal lengths.
«The golden hour is a magical time for bird photography, offering exquisite lighting and unique opportunities to capture stunning shots. Don’t miss out on this enchanting period and elevate the quality of your bird photos.» – Professional Bird Photographer
During the golden hour, the lighting conditions can change rapidly, so be prepared to adjust your camera settings accordingly. Use a wide aperture to create a shallow depth of field and blur the background, making the bird stand out. Experiment with different shutter speeds to freeze the motion of birds in action or create intentional motion blur for creative effects.
Remember to keep an eye on the changing light as the sun rises or sets. The colors and tones can shift dramatically, offering unique opportunities for beautiful and dynamic bird compositions. Be patient and observant, and be ready to capture the magical moments that unfold during the golden hour.
Master Composition: Choose the Right Bird Photography Compositions
When it comes to bird photography, composition plays a vital role in creating visually captivating images. While it may not be as complex as other genres like landscape photography, understanding the principles of composition can significantly enhance your bird photos. Here are some tips to help you choose the right bird photography compositions.
Firstly, utilize the rule of thirds to bring balance and interest to your images. Imagine dividing your frame into a grid of nine equal parts by overlaying two horizontal and two vertical lines. Place your bird subject along these lines or at the intersections to create a more engaging and dynamic composition.
In addition to the rule of thirds, consider the rule of space in your bird photography. By leaving empty space in the direction the bird is facing or moving, you give it a sense of room to breathe, resulting in a more impactful composition. This technique can also add a sense of anticipation or movement to your photos.
Finally, don’t be afraid to experiment with different framing techniques. Play around with different angles, perspectives, and focal lengths to capture unique compositions. Consider capturing close-up shots to highlight the intricate details of a bird’s feathers or try wide-angle shots to showcase the bird in its natural habitat.
By applying these composition principles and techniques to your bird photography, you can create visually stunning images that captivate viewers and bring the beauty of birds to life. So, get out there, practice, and let your creativity soar!
